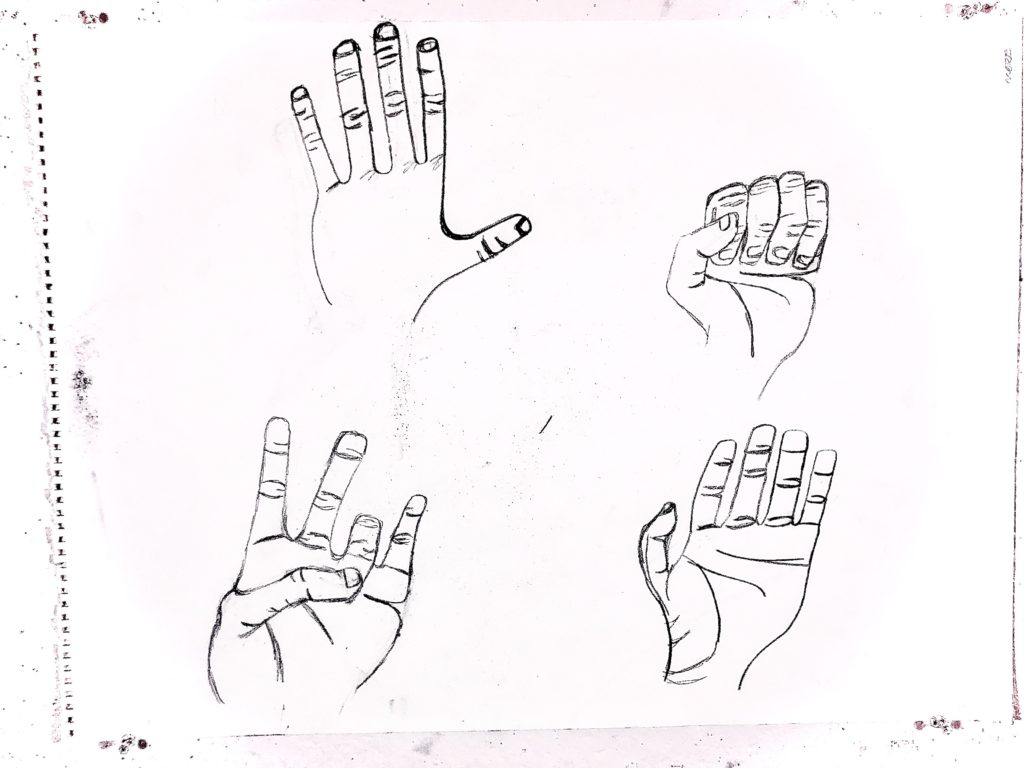
This is a drawing of someones hand. It looks like it was drawn using a pencil. The drawing contains contour lines to show the position and different features of the person’s hand.
Category: Basic Forms and Shapes
Ronnie’s 1st Post
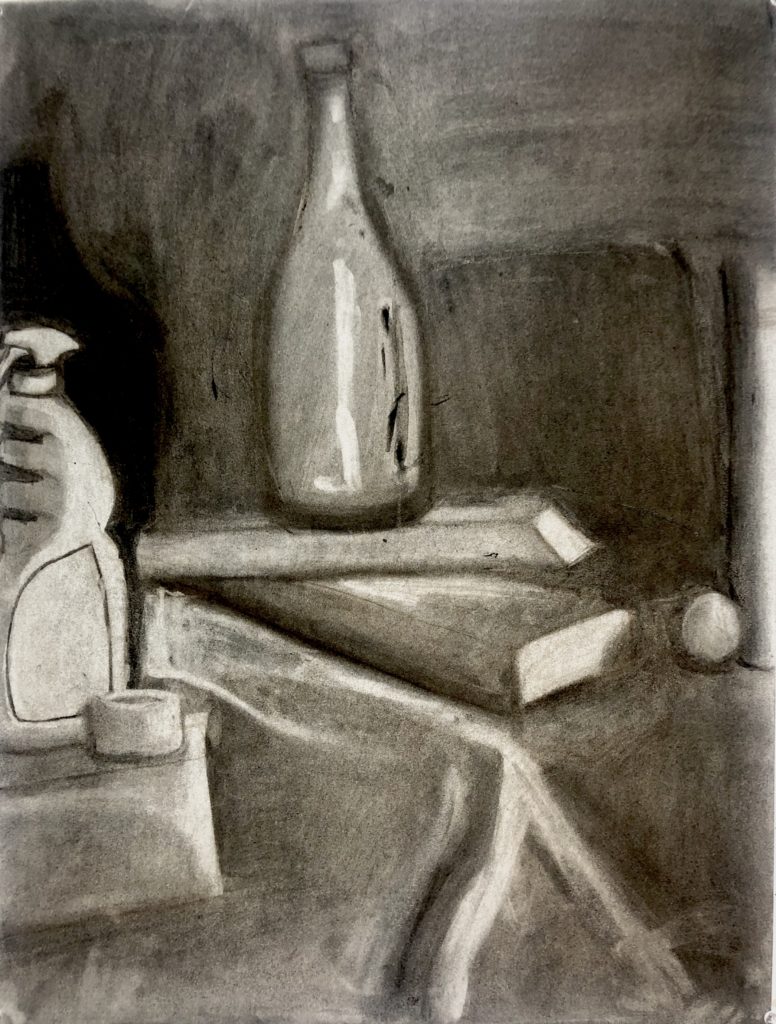
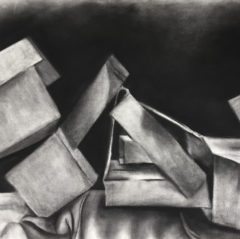
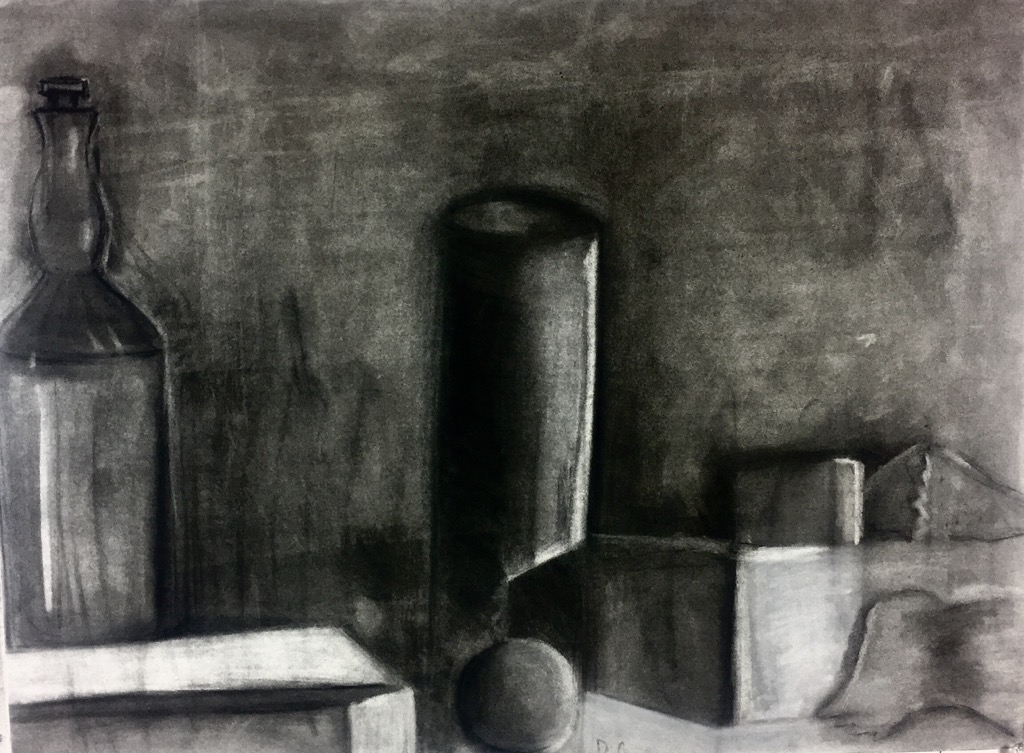
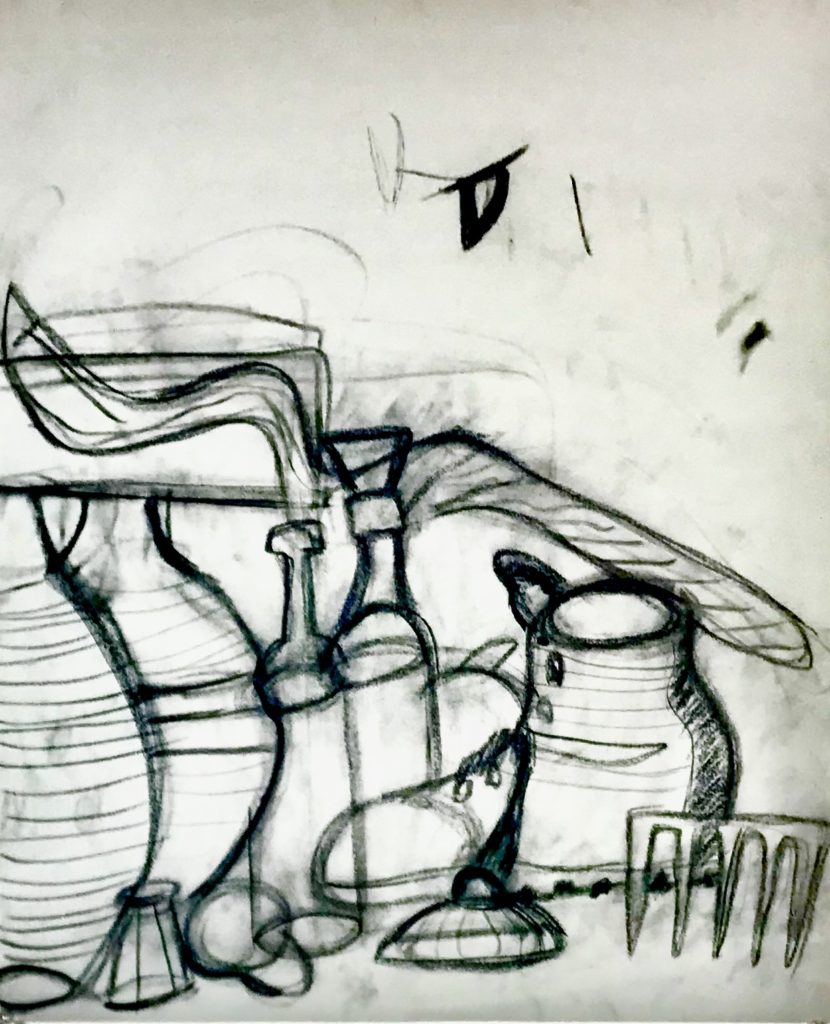
This is a charcoal drawing of still life. It contains a spray bottle, wine bottle, a ball, and it looks like tape. Value was the main concept practiced in the drawing.
Contour Drawing of a Still-Life
This drawing highlights the complexity of objects through the use of contour lines, marks, and shadows. The use of contour lines and values is important to differentiate the objects from one another, despite similar coloring on a few of the objects (including the pumpkin and gourd). To create this drawing, I outlined the basic shapes of the still-life with vine charcoal and then proceeded to add some dimension and form to create a 3-D effect. After the object were all correctly placed and shaped, I continued using vine charcoal to add details in the form of contour marks and shadows on and around the objects. The drawing uses elements of basic shapes and forms, as well as contour and value.
Drawing: Still Life
Materials:
Vinyl Charcoal
White Conte Crayon
Napkin ( smudging)
Drawing Paper Pad
White Charcoal
Vinyl Charcoal
Charcoal (2B)
Still lives in my room
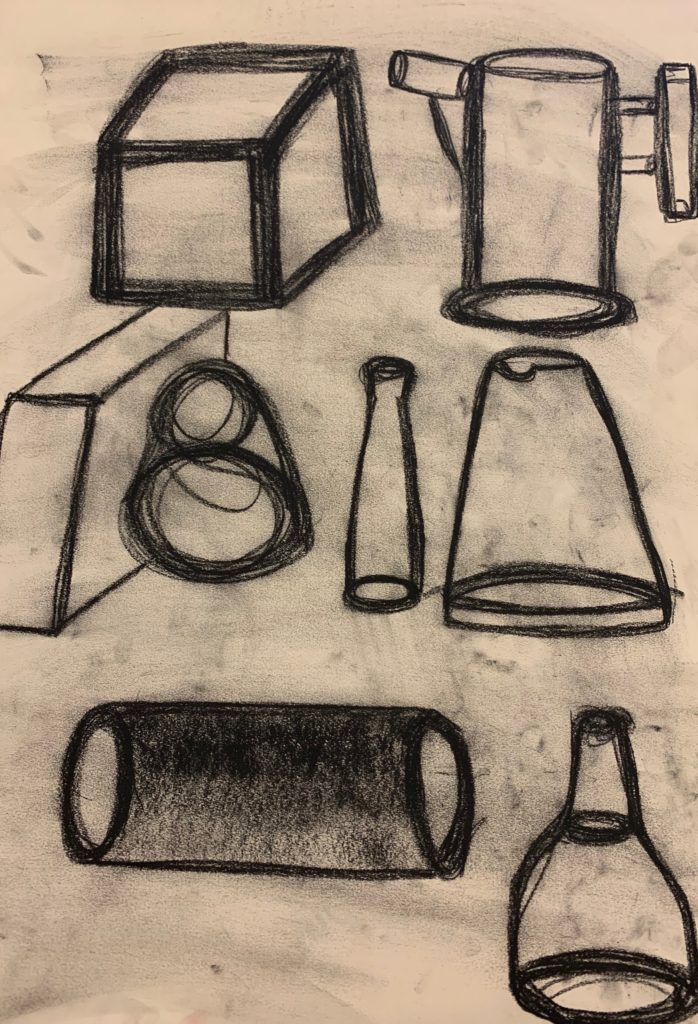
Basic Drawing Shapes
These are basic outlines of objects using cylinders, spheres, and square shapes.
Still life boot
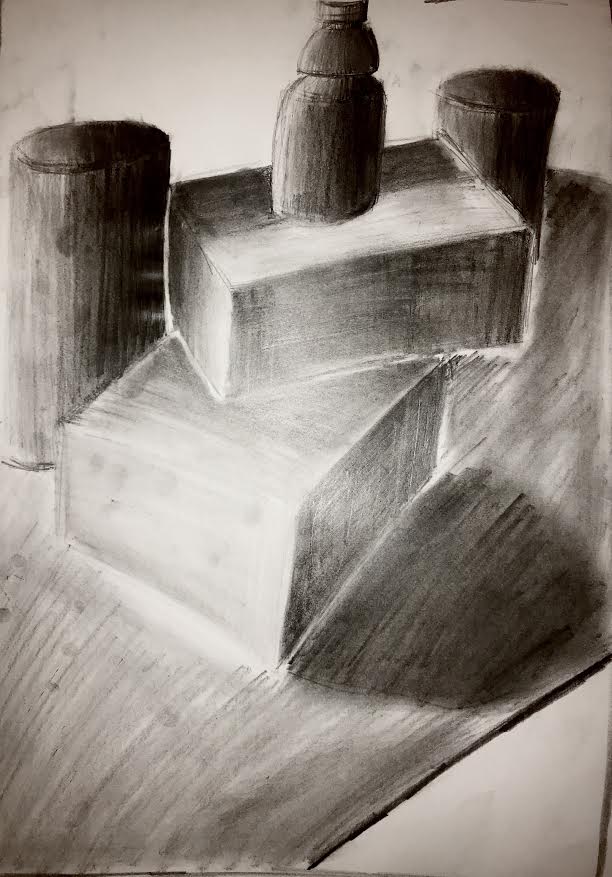
This drawing was a still life that I drew during class. It is a drawing with charcoal and keeps proportion in mind as I made sure the sizes of each object were on point with one another. Basic shapes were used quite a bit especially on the bottles and the boot.
Hands on my Feet
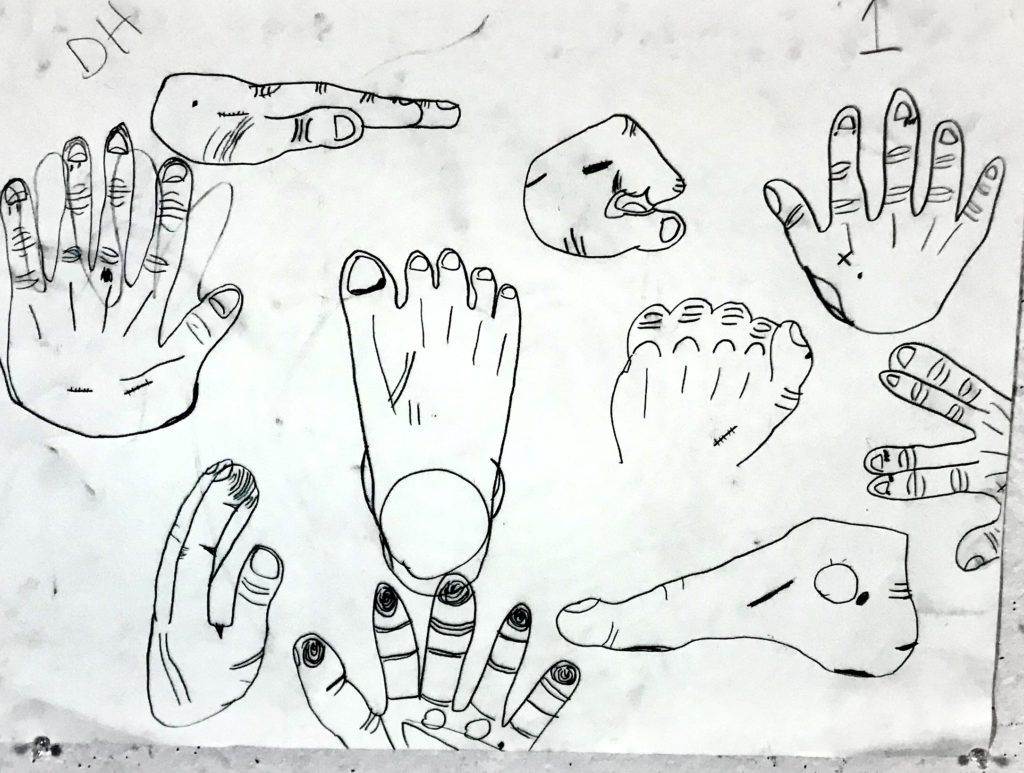
This artwork is not a still life but rather pictures of hands and feet most of which mine that I have drawn. I covered the details in my hands ranging from any cuts, scars or knuckles all the way to simple wrinkles and even fingerprints in some cases. In each drawing on a hand or foot I made sure they are always in different positions when drawn so it doesn’t get repetitive.
Lunchbox Contours and Cross Hatching
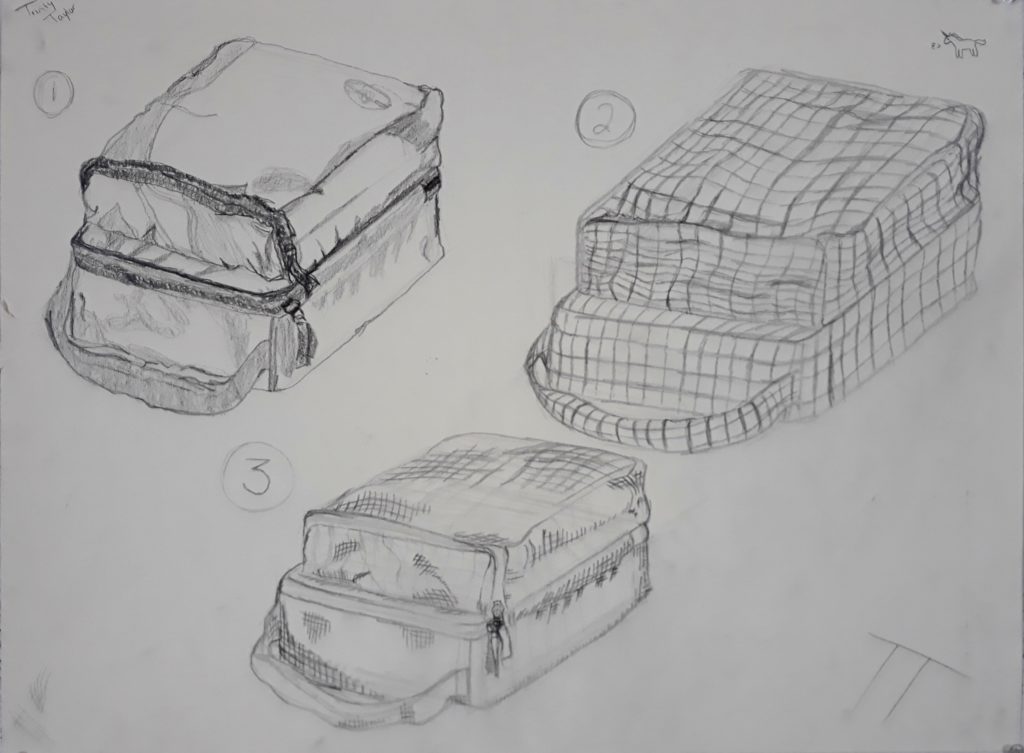
These three pictures of my lunchbox are some of the best contours and cross hatching I’ve done for class so far.
For the contour drawing in the top left corner, I began by drawing the lunchbox without lifting my pencil. I don’t remember using any under drawings for this one. For the other two, however, I believe I did begin by drawing two rectangular prisms stacked on top of one another.
The cross contour drawing was the most difficult for me because it was hard to visualize the dips and rises in the fabric on a grid. If I were to draw this over again, I might spend a bit more time on the cross contour to make sure I have the topography correct.
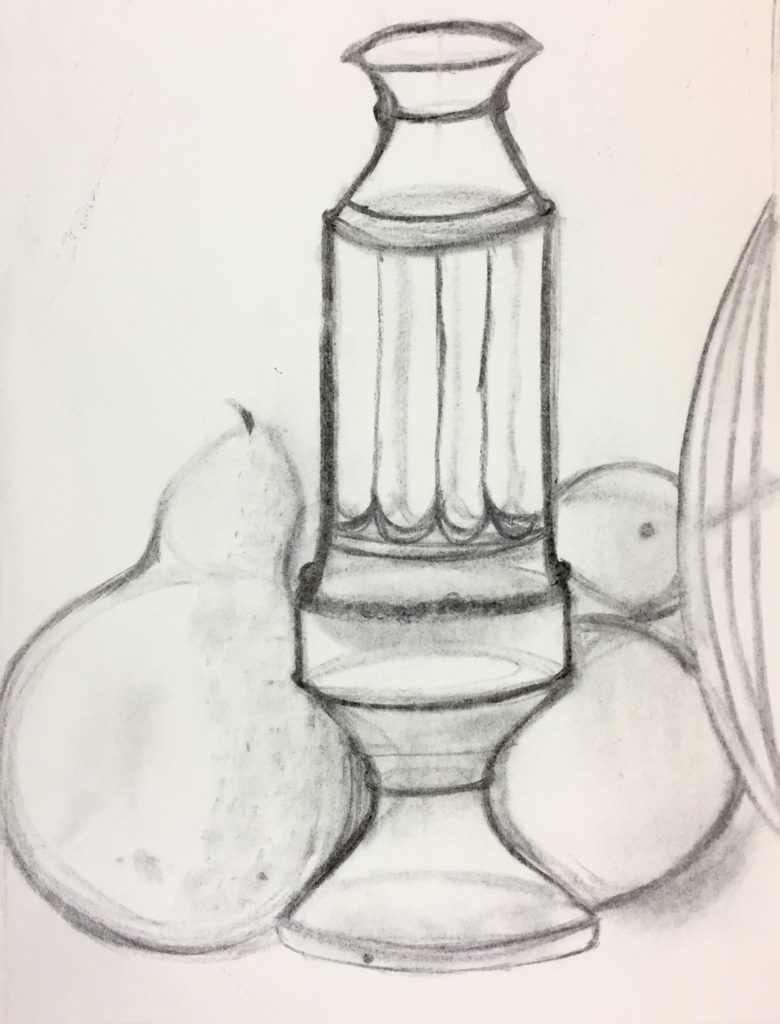
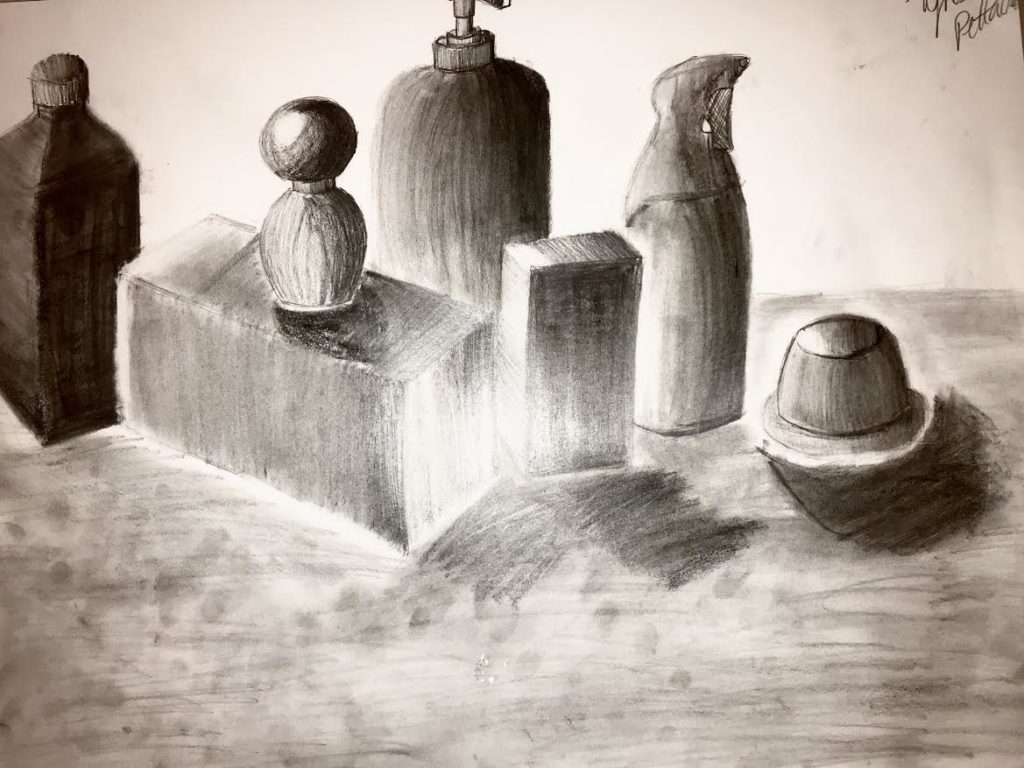
“Bottles” Value Still Life
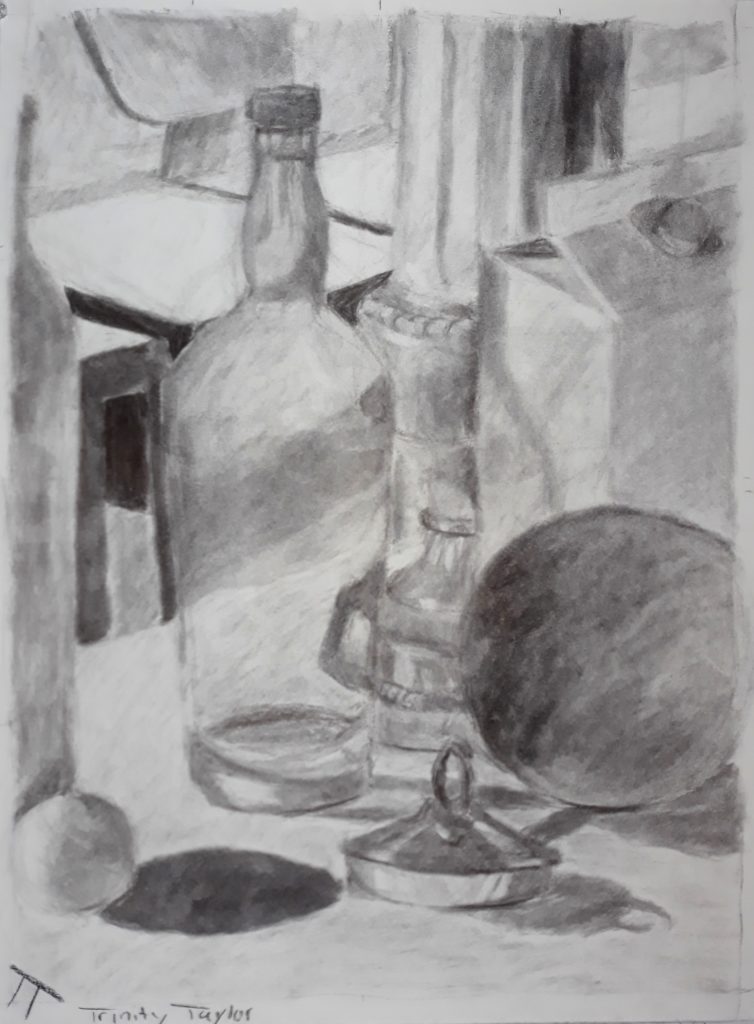
I used vine charcoal to draw this picture and started by creating margins on my paper and marking the halfway and quarter way points along the edges. I used these marks to match up my drawing with what I saw using my viewfinder.
I began by mapping out and correcting the general shapes and positions of the objects with several gesture drawings, then I filled in the values of the positive space before moving on to the negative space and background.
It took me a while to draw this picture, although there are still details I missed; for example, the glass bottles had ridges on the top just below the neck that refracted the background image in interesting ways. Given more time, I would include more details like this.