Graphite Value Still Life

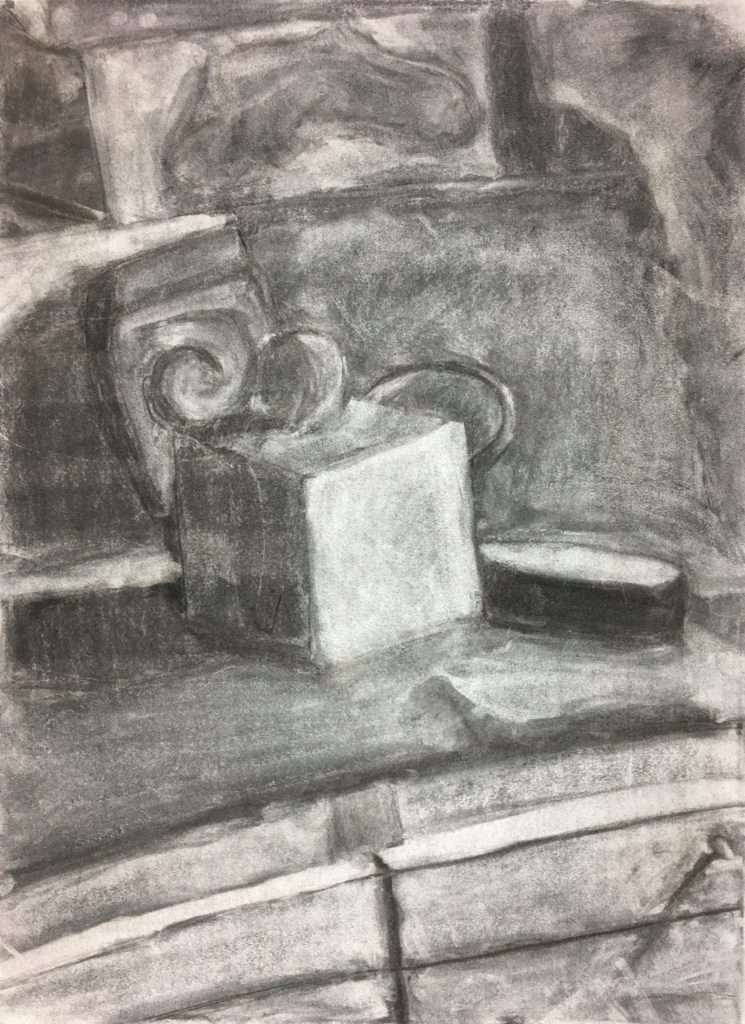
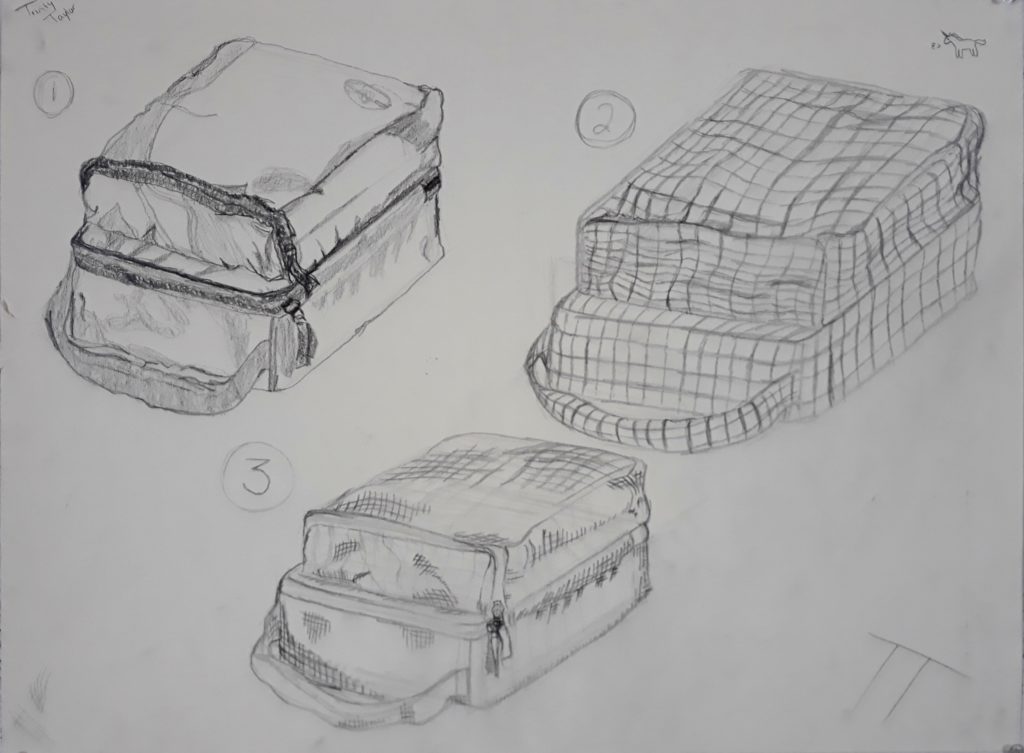
This here is a still life drawing I did in my Drawing I course. Graphite was the main medium; a viewfinder was also used to make sure the objects were proportional.

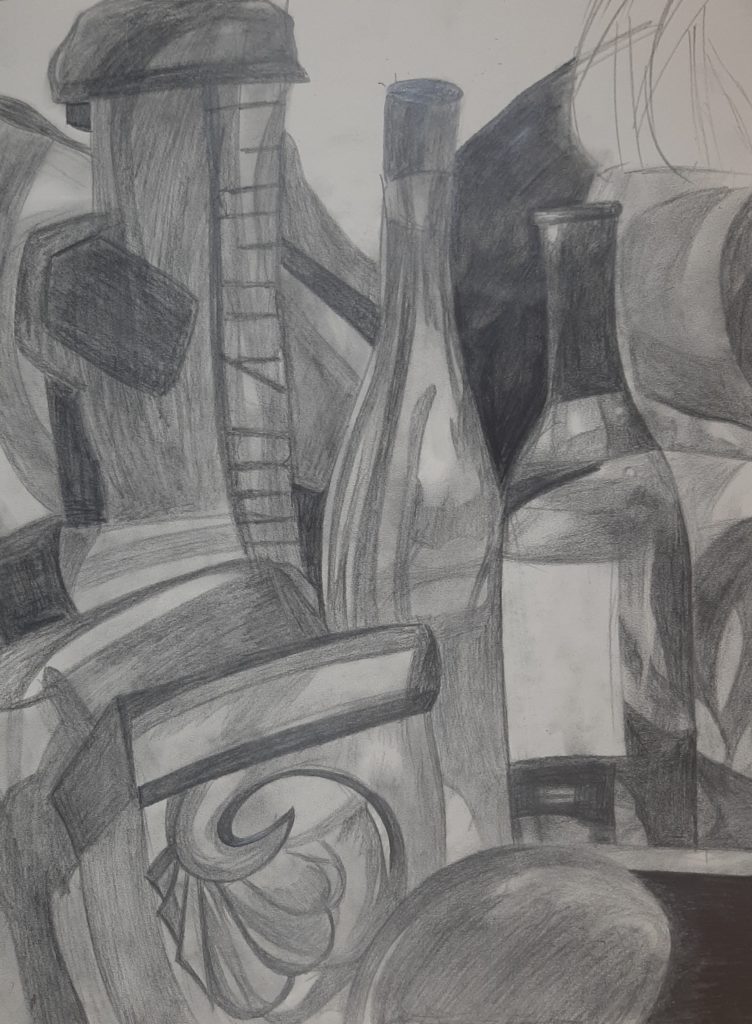
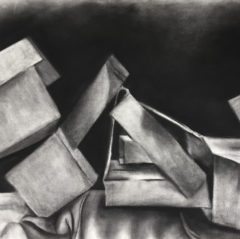
I actually don’t like this one as much as my vine charcoal drawing I uploaded because I can tell some areas were rushed. The hardest thing for me was sketching things out as quickly as I could before going back and shading.

Portrait of Estelle

This is a graphite and charcoal portrait drawing of a female classmate.
This is a graphite and charcoal drawing of my classmate Estelle. It’s a portrait, so she is facing me straight on. I started the drawing by sketching out basic facial features and doing some shading to establish some 3-dimensionality. Then I began to add finer details both in shading and subtle lines that make Estelle look more like herself.

Unfinished Skull

This is a drawing of a skull done in graphite. The light is coming from behind the skull the front is only partially shaded in.
This is a still life of a skull, I used woodless graphite in 2H and 6B. As the title says it is not “done” as in it is only shaded in part of the skull, the darkest part that is opposite of the light source. There is not any detailing in the fabric that dropped behind it and only a single line indicating where the fabric goes under the skull. The upper layer of teeth is shaded incorrectly and the bottom row is completely white.

Lunchbox Contours and Cross Hatching

I drew the same object three different times in this picture. In the top left corner of the page is a contour drawing of my lunch box, to the right of that is a cross contour, and under both is a cross hatching.

The lunchbox itself is divided into two rectangular prisms, both the same width but one with a shorter height than the first. The lunchbox is lying at an angle in the drawings with its black handle pointing down and to the left.

In the contour drawing, one can see the designs on top of the lunchbox, including a darkened curve on the left side of the top prism. A zipper lines the top of the prism underneath. Crinkles can be seen all along the lunchbox in the form of shadows.

In the cross contour, these crinkles are seen as three dimensional waves in a two dimensional grid; however one notices that the bottom prism is mostly flat on each face.

In the cross hatching, these waves are still visible, but appear more like shadows on the lunchbox. Nothing on this drawing was colored in based on local values.

These three pictures of my lunchbox are some of the best contours and cross hatching I’ve done for class so far.

For the contour drawing in the top left corner, I began by drawing the lunchbox without lifting my pencil. I don’t remember using any under drawings for this one. For the other two, however, I believe I did begin by drawing two rectangular prisms stacked on top of one another.

The cross contour drawing was the most difficult for me because it was hard to visualize the dips and rises in the fabric on a grid. If I were to draw this over again, I might spend a bit more time on the cross contour to make sure I have the topography correct.

css.php