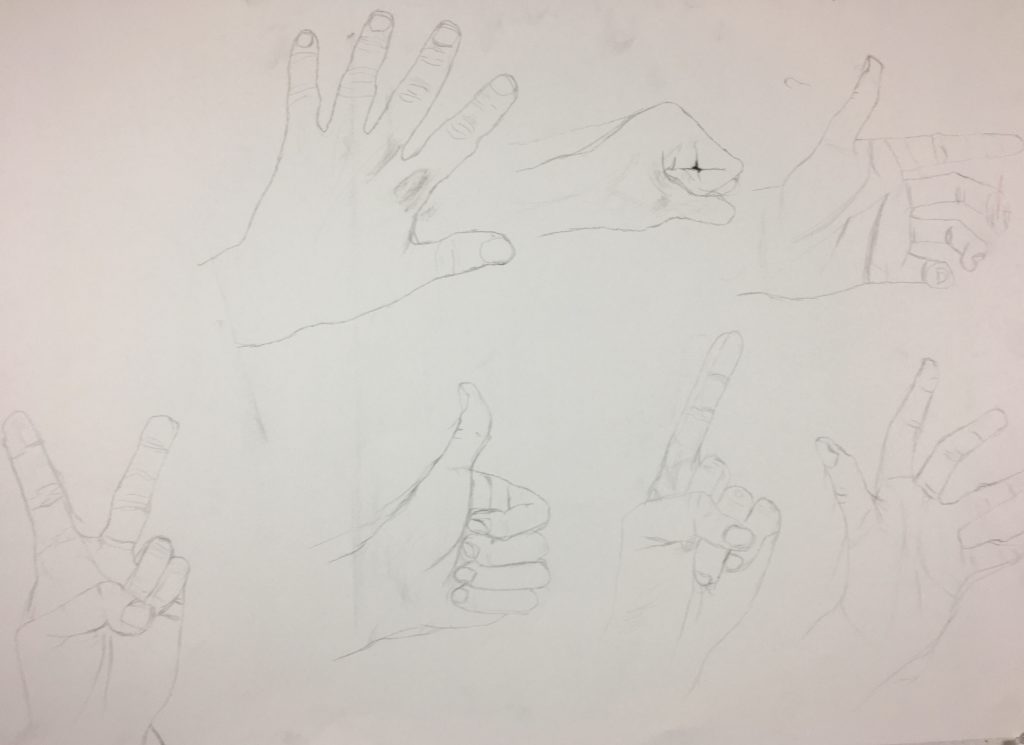
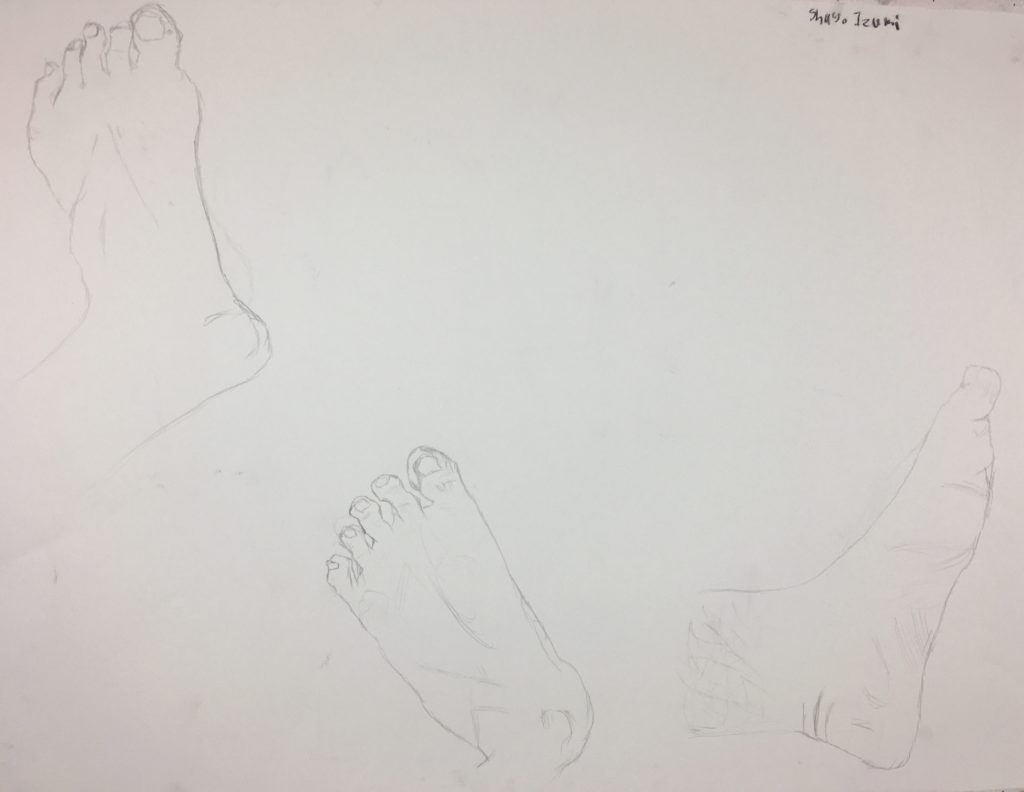
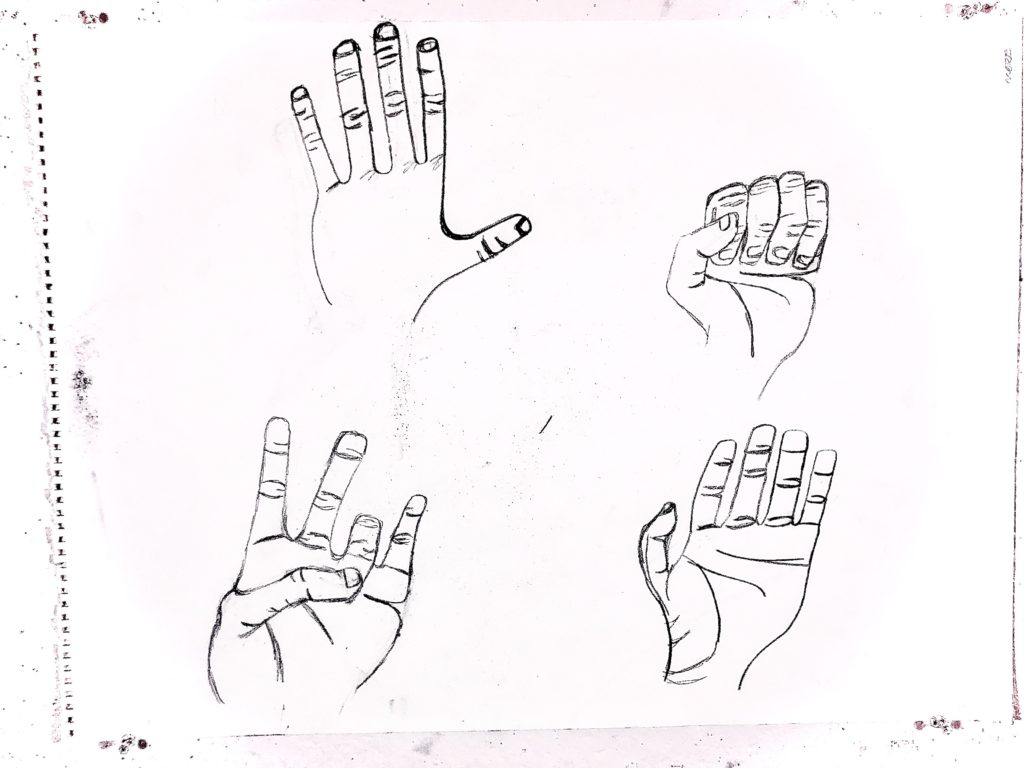
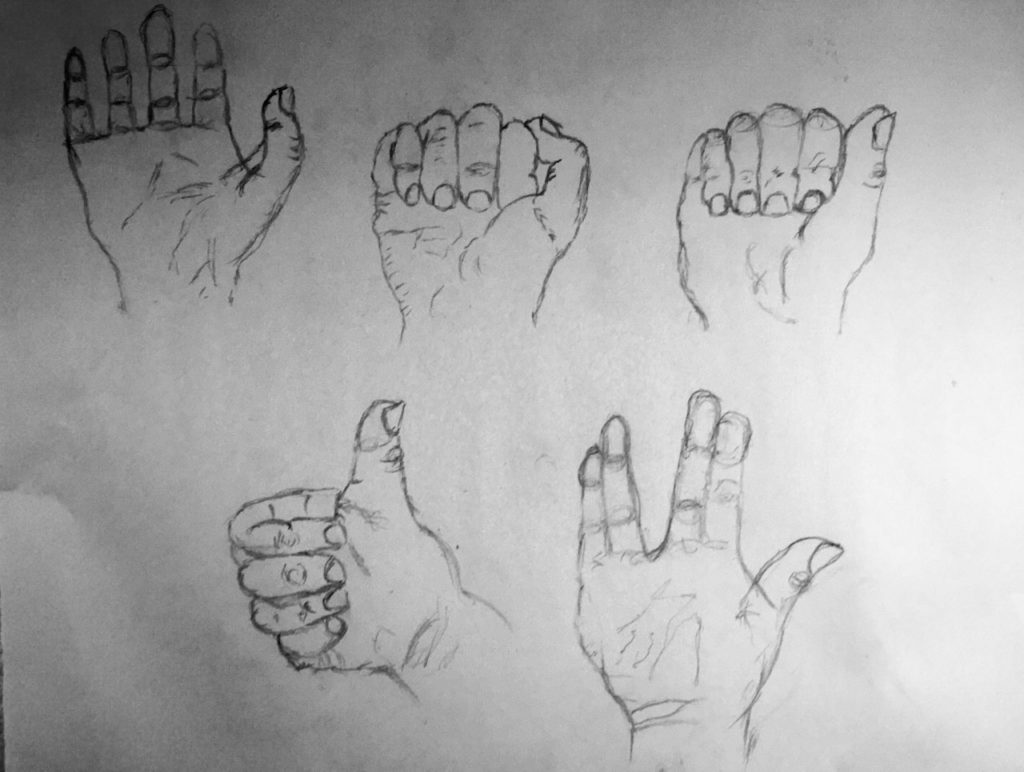
Drawing about my hand and foot, use Contour Line. This one need to wrote 10 time, in this time I thought it is boring to wrote same objects many time, so tired to make many types of hand poses. It was very interest to wrote. hoot can’t make some pose so I didn’t wrote many time.
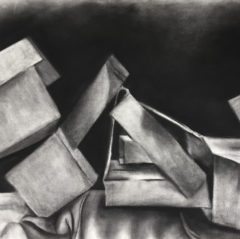
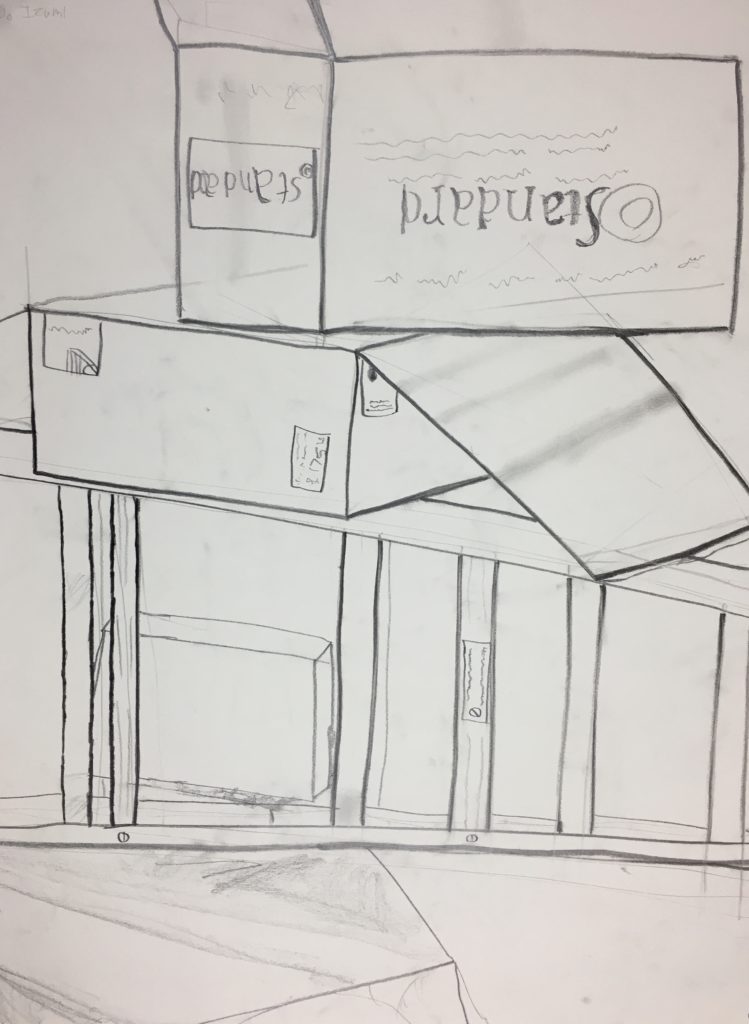
Create a line drawing of the ladder and boxes still-life. This picture is important to make correct angle and size. Word draw is not important but if put it looks so good.
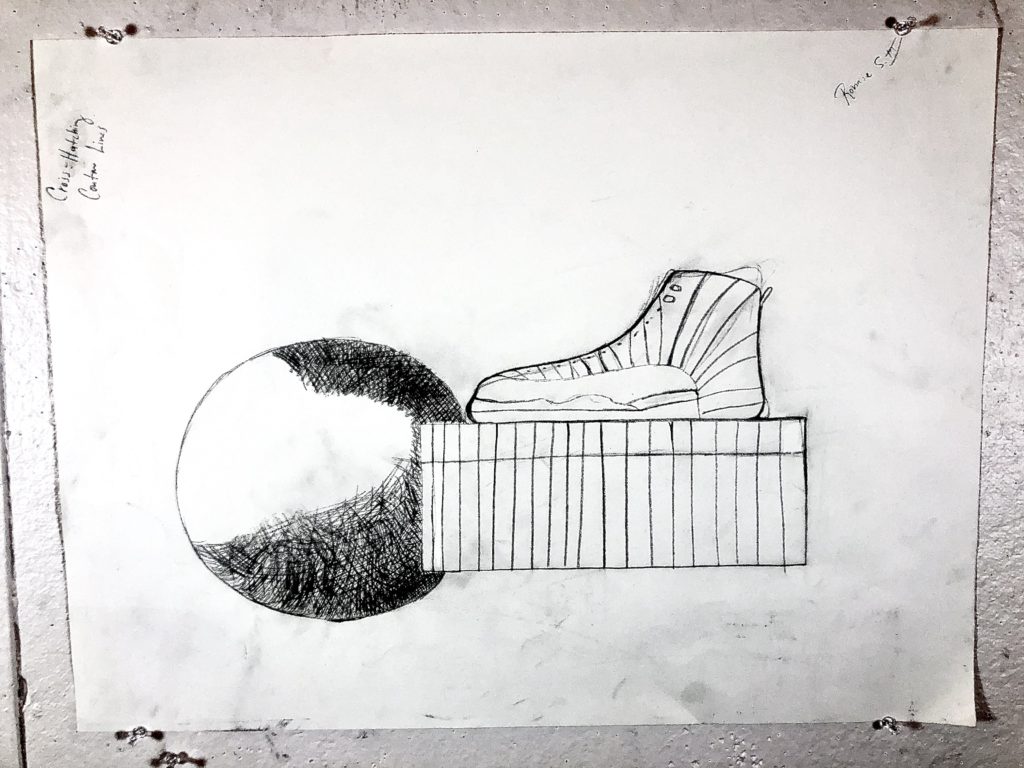
This drawing looks like a shoe on top of a shoe box. The object on the left appears to be behind the box. This drawing also looks like it was drawn with a pencil. Cross-hatching and contour lines are the concepts that are practiced in this drawing.
This is a drawing of someones hand. It looks like it was drawn using a pencil. The drawing contains contour lines to show the position and different features of the person’s hand.
This drawing piece demonstrates the concept of coordinating contour lines into a realistic form art. The first thing I did was place my right hand in front of me and drew a basic form (quick sketch) of my hand and fingers. Then, from that sketch I went into more detail of the shape of my fingers, nails, and the signs I formed. Finally, I used the concept of contour lines as a form of creating texture within each hand shown as: creases and cracks throughout my hand.
Materials: 2H drawing pencil White Plastic Eraser Drawing Paper Pad
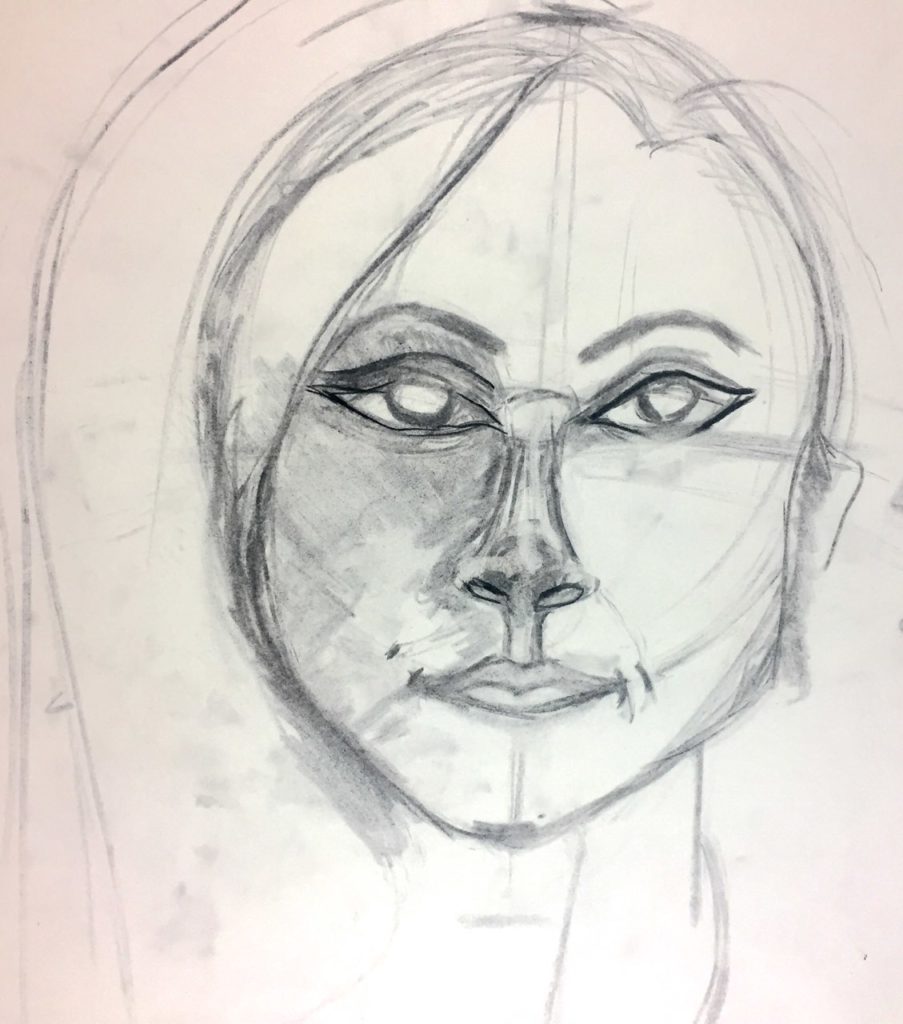
This image is a portrait of my classmate, Trinity. For the basic face form I started out with an circle for a realistic , circular form of the cranium , and then I added in the chin. I used vinyl charcoal throughout this whole piece. The hardness of the vinyl charcoal around the eyes was to highlight her eye shape, and bring the piece to life. Creating the eyes was a challenging , but I started them with equidistant from the top of the head to the bottom of the chin (you can see the line of measurement). I carried on to the nose . I started with a circle for the point of the nose, then extended the nose with a tent shape. To make the lines less harsh I used a paper towel to lighten the ash of the charcoal. The corner of each lip had to be aligned with the middle of each line , and I added a shadow to the top lip to give a sense of plumpness. The last step was addition of the hair and value to the face. It’s important use the hair as a guide to her face structure and ears. Also, adding value helped the picture look more realistic based on a face having different natural shadows , and still contributing to highlighting little features in her face.
Materials: Vinyl Charcoal Drawing paper Pad 2H Drawing Pencil (for measurements) Kneaded Eraser
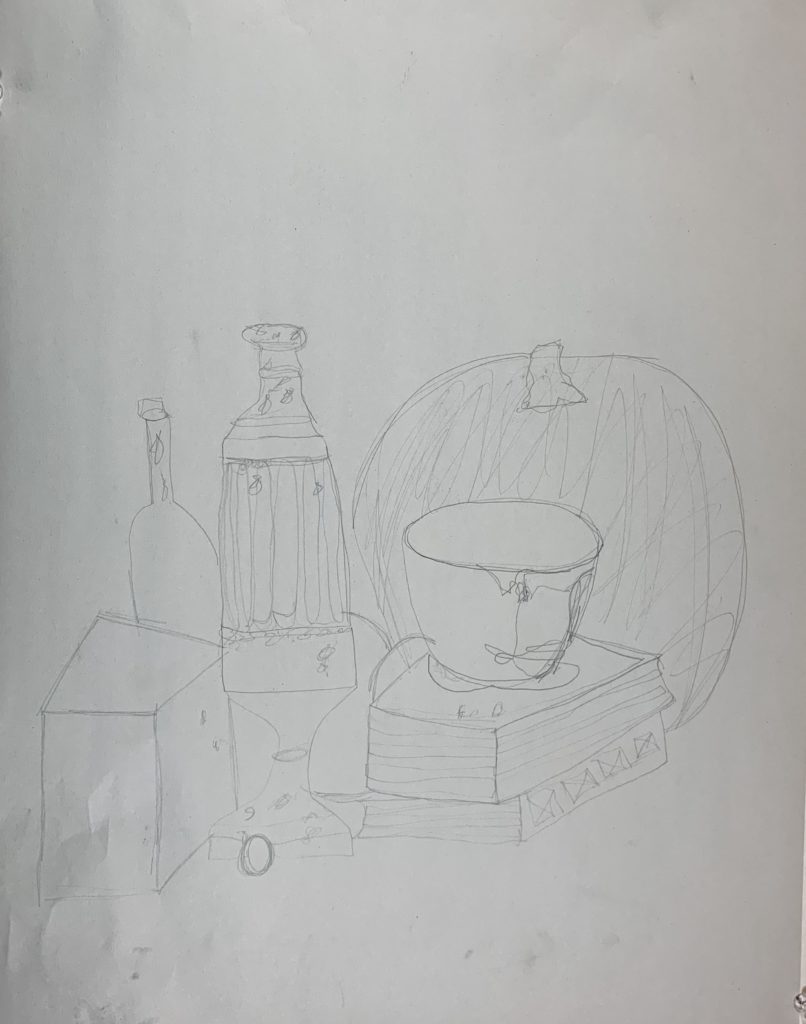
I drew this still life of various objects from my room by first sketching out basic forms. I drew the objects on top of these basic forms and corrected them as I saw appropriate, using sighting and measuring techniques. Finally, as I decided that the forms were correct, I added cross-hatching to add dimension and inform the shape of the objects. I used vine charcoal and conte crayon for the basic shape and form of the objects, and finalized them with a graphite pencil.
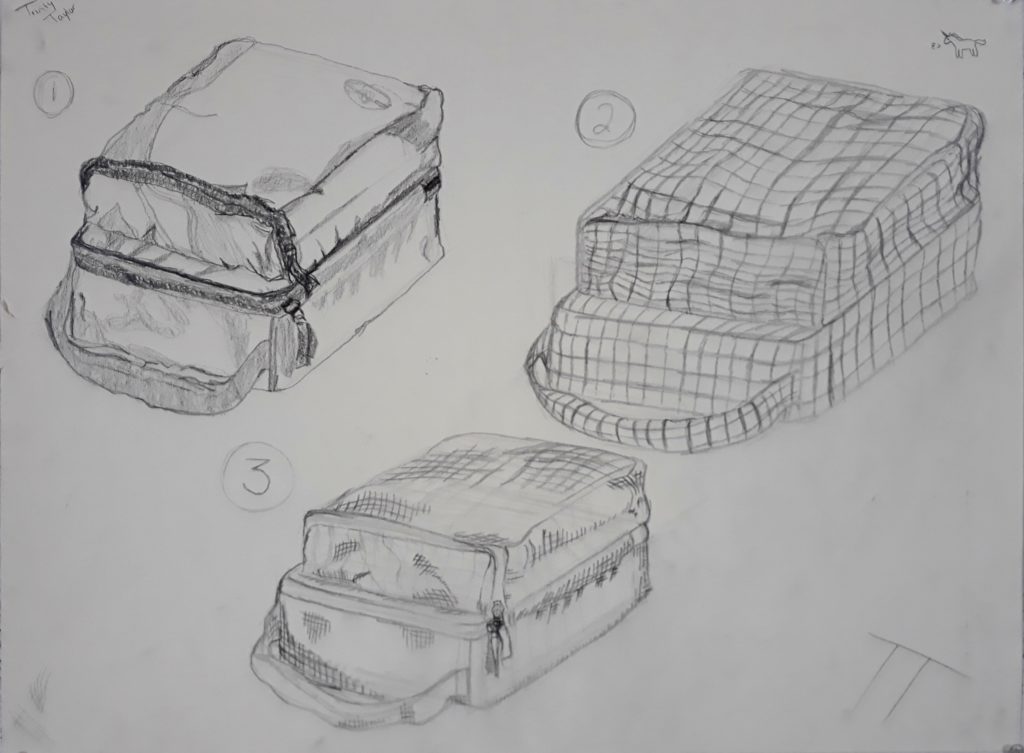
These three pictures of my lunchbox are some of the best contours and cross hatching I’ve done for class so far.
For the contour drawing in the top left corner, I began by drawing the lunchbox without lifting my pencil. I don’t remember using any under drawings for this one. For the other two, however, I believe I did begin by drawing two rectangular prisms stacked on top of one another.
The cross contour drawing was the most difficult for me because it was hard to visualize the dips and rises in the fabric on a grid. If I were to draw this over again, I might spend a bit more time on the cross contour to make sure I have the topography correct.
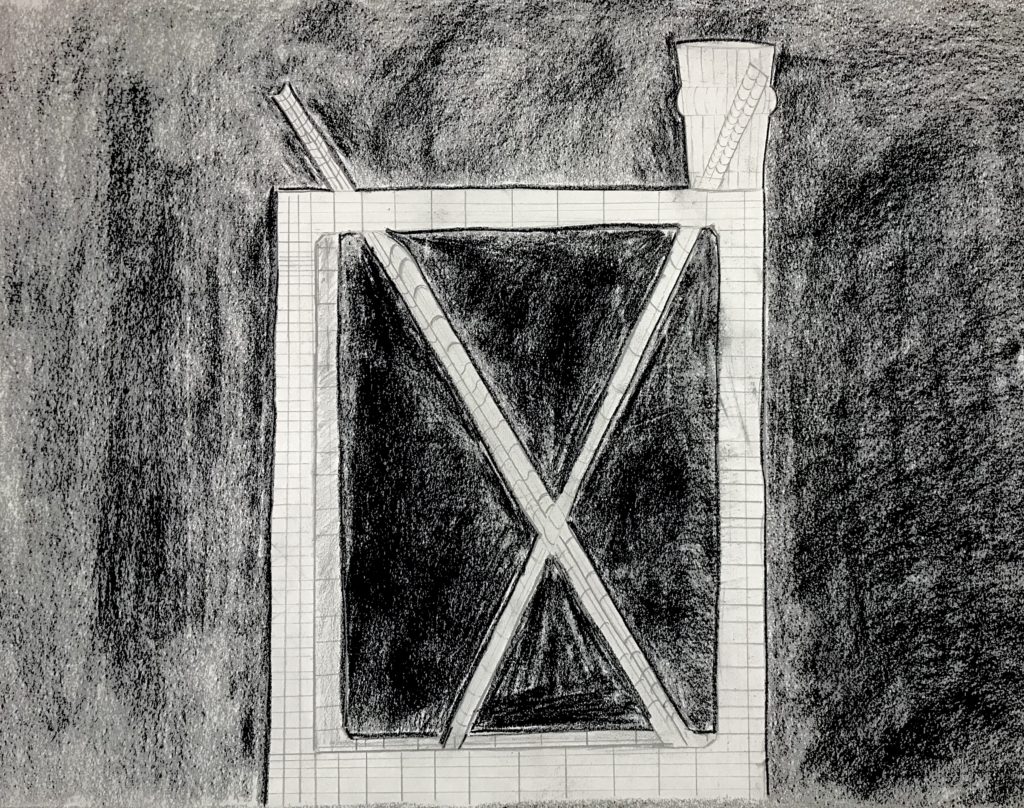
Metal cube, chopsticks and shot glass represented with crosshatching and negative space shading
Cross hatching & Negative space
In this drawing the process of crosshatching and the emphasis of Negative space is used. Cross hatching is where lines are used to represent the shape of an object more, similar to Longitude and Latitude lines on a globe. Negative space is the gap between objects that create their own unique shapes. In this piece I drew objects around my room emphasizing on their 3 dimensional shape as well as the 2 dimensional shapes created by the gaps between them.